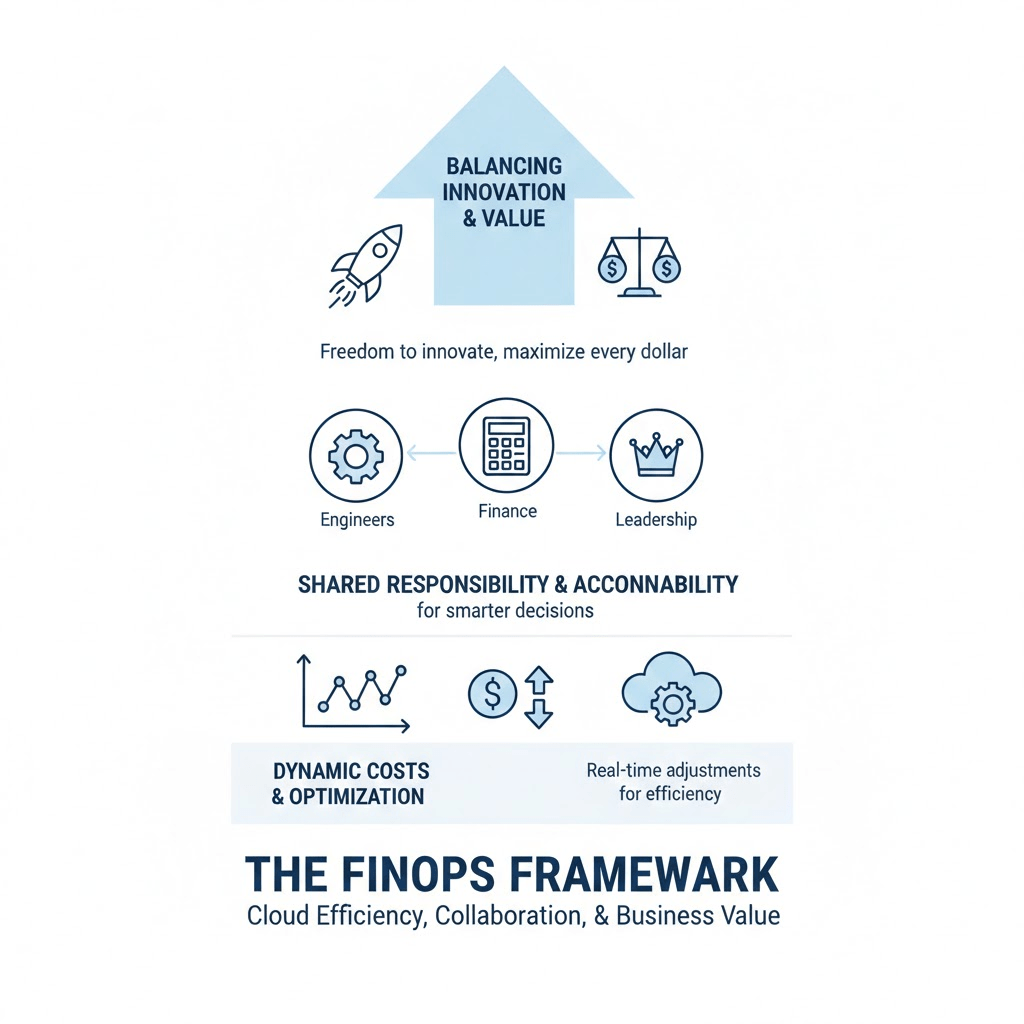
As someone who works in DevOps, I’m always focused on creating systems that are efficient, scalable, and reliable. But when it comes to the cloud, one critical piece often gets overlooked—cost management. This is where FinOps becomes essential. It’s not just a set of tools; it’s a framework that helps us align cloud spending with business goals. The question is, how do you go from understanding FinOps in theory to implementing it in practice? Here’s how I went from understanding FinOps to putting it into practice.
Start with Alignment
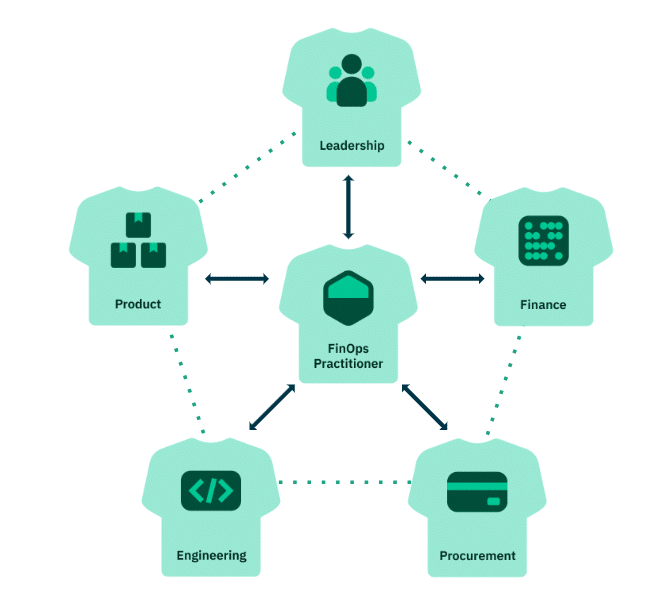
The first thing I did was bring together engineers, finance teams, and leadership to make sure we were all on the same page. I worked with them to define shared objectives, so everyone understood not just what we were doing in the cloud, but why. By creating this shared understanding, I set the foundation for everything else in the framework.
Create Visibility and Accountability
Next, I focused on visibility. I implemented dashboards and reporting tools that gave real-time insights into our cloud usage and spending. I made sure every team member could see how their decisions impacted costs. But visibility alone wasn’t enough—I also made accountability clear. I worked with engineers to take ownership of the resources they used and collaborated with finance to make sure spending was understood across the board. Shifting the mindset in this way was critical to making FinOps work for us.
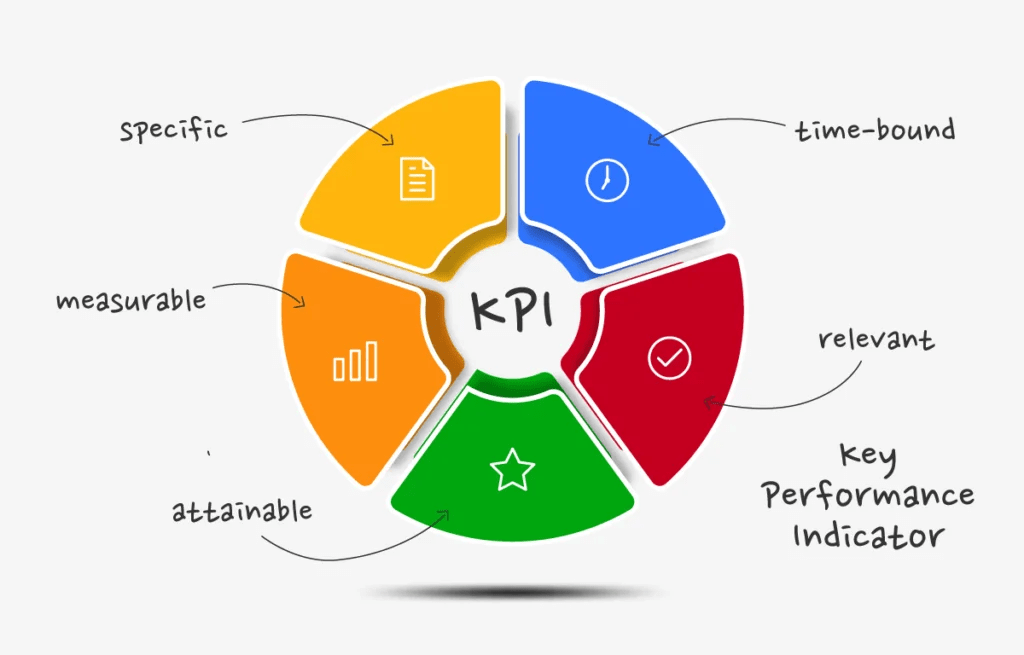
Define Metrics and KPIs
Once we had visibility and alignment, I defined measurable KPIs that connected cost to value. I tracked things like cost per workload, cost per user, and efficiency of storage and compute. These metrics let me monitor how effectively we were using our cloud resources and identify areas for improvement. Having these KPIs in place meant I could make informed decisions and adjust our strategy in real time.
Implement Continuous Optimisation
Finally, I made FinOps an ongoing practice rather than a one-time setup. I regularly reviewed our usage, identified waste, and optimised resources. I automated scaling wherever possible and shut down unused instances. By continuously monitoring and refining our cloud environment, I ensured that our infrastructure was not only efficient but also aligned with our business priorities.
Conclusion
Setting up this FinOps framework transformed the way my teams operate in the cloud. It’s not just about saving money—it’s about making every dollar work harder, enabling innovation while keeping us efficient and accountable. When teams are aligned, informed, and committed to continuous improvement, FinOps becomes a powerful tool for both innovation and financial efficiency.